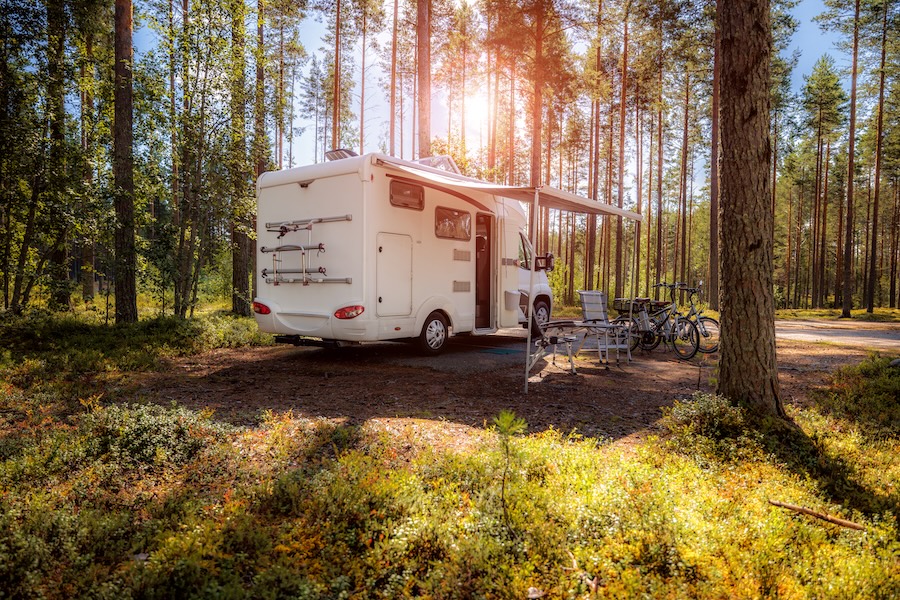
The arrival of spring carries a specific kind of magic for the RV traveler. It is the season of shifting gears, where the quiet, stagnant air of winter storage gives way to the rhythmic hum of the open road. As the snow melts and the campgrounds begin to open their gates, your recreational vehicle stands ready to reclaim its role as your ticket to freedom. However, before you turn the key and head toward the horizon, you must bridge the gap between hibernation and operation. De-winterization is more than just a chore; it is a ritual of safety and preservation that ensures your home on wheels remains a sanctuary rather than a source of stress.
A successful spring wake-up requires a methodical approach that touches every corner of the vehicle, from the depths of the plumbing system to the very top of the roof. While many travelers focus solely on getting the water running, seasoned road warriors know that structural integrity and environmental control are equally vital. In this guide, we will walk you through the essential steps to bring your RV back to life. By investing time now, you protect your investment and guarantee a much cooler, smoother journey through the warmer months ahead.
Inspect the Powertrain Systems
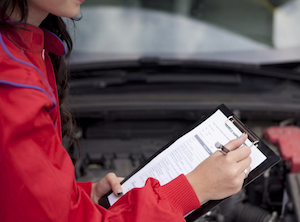
Spring marks the perfect moment to rouse your motorhome or tow vehicle from its winter slumber, and a proactive approach to the engine ensures your first road trip remains stress-free. Begin by popping the hood for a thorough visual inspection and checking for any signs of unwanted guests. Rodents often seek shelter in engine bays during the cold months. Look for chewed wires, nests, or debris that could spark a fire or cause an electrical short.
Once you clear the area of unwanted guests, it’s time to check the engine battery’s health. Cold temperatures often drain a battery’s charge. Test the voltage and clean any corrosion off the terminals with a wire brush. Check the battery fluid levels to see if they are low. If the battery voltage is low, connect a charger to the battery and see if it holds a charge. Replace the battery if it no longer holds a charge.
Fluid management comes next in your maintenance routine. You should pull the dipstick to check the oil color and level, as condensation can build up in the crankcase over the winter. If the oil appears milky or dark, you should perform a full oil and filter change immediately. While you are at it, examine the coolant reservoir to ensure the mixture remains at the proper level and possesses the right freeze protection for late-spring frosts. You also need to verify the levels of your power steering, brake, and transmission fluids, topping them off with the manufacturer’s recommended products whenever necessary.
The rubber components of your engine deserve extra attention after months of sitting idle. You should run your hand along the serpentine belt to feel for cracks, fraying, or glazing, and check for proper tension. A brittle belt can snap under the heat and pressure of highway driving. Replace any belts that show signs of wear. A worn or broken belt can lead you to a breakdown on the road, and that isn’t fun. Carrying a spare belt is a simple precaution and highly recommended. Squeeze the radiator hoses to check for soft spots and brittleness. Ensure all hose clamps remain tight and leak-free.
After you finish the physical inspections, start the engine and let it reach normal operating temperature. Listen closely for any unusual knocks, squeals, or rattles that might indicate a failing bearing or loose pulley. While the engine runs, watch the dashboard for any warning lights or abnormal gauge readings. Check your air filter by holding it up to a bright light; if the light cannot pass through the pleats, a fresh filter will improve your fuel economy and engine performance for the long miles ahead.
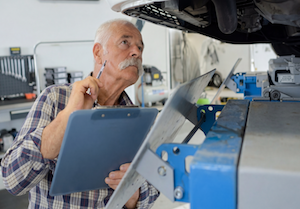
Check the braking systems to ensure they are ready to stop you and your RV. Are the thicknesses of the brake pads within spec? What is the condition of the brake rotors? Check the brake fluid and ensure it appears clean and free of debris. If the brake pedal feels spongy or you hear any unusual noises, bring your vehicle to a certified brake specialist for repairs.
Check the Tires
The next stop of the inspection is tires. Examine the sidewalls and treads for any signs of aging or damage, such as cracking, bulging, or unusual wear patterns that often indicate alignment issues. Rubber degrades over time regardless of mileage. Check the DOT date code on each tire to confirm they have not exceeded their safe service life, which typically ends around 5 to 7 years.
Use a high-quality pressure gauge, and measure the air levels while the tires are still cold. Temperature fluctuations during winter storage often cause pressure to drop significantly, and underinflated tires generate excessive heat, leading to dangerous blowouts. Refer to the manufacturer’s load and inflation tables to ensure the pressure matches the actual weight of your loaded vehicle rather than relying solely on the maximum PSI listed on the sidewall.
Tightening the lug nuts with a calibrated torque wrench to the specific foot-pound requirements found in your owner’s manual. Rust streaks or shiny spots around the nuts often signal looseness. Tighten the lug nuts to prevent wheel separation during transit. If you notice uneven tread wear or feel vibrations during a short test drive, schedule a professional balancing and alignment session to protect your investment and improve fuel efficiency for your spring adventures.
Do not forget to inspect the spare tire as well.
Initial Exterior Assessment and Structural Integrity
Temperature fluctuations can cause materials to expand and contract, which often leads to hairline cracks in sealants or the loosening of hardware. Begin by walking the entire perimeter of the vehicle with a keen eye for detail. Look for any signs of pest infestation, as small rodents often seek the warmth of an RV’s underbelly during the cold months. Check the wheel wells, the exterior access panels, and the exhaust pipes for nests or chewed wiring.
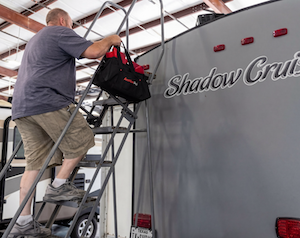
Your roof is the most critical line of defense against the elements, and it deserves a thorough inspection before the spring rains arrive. Use a sturdy ladder to examine the seals around the air conditioning units, vents, skylights, and antennas. If the sealant looks cracked, brittle, or is peeling away from the surface, you should scrape away the old material and apply a high-quality lap sealant designed for your specific roof type. Neglecting these small gaps can lead to devastating water damage that often goes unnoticed until it is too late. While you are up there, clear away any debris, such as leaves or pine needles, that may have collected in the gutters or around the slide-out seals.
Revitalizing the Water System and Sanitization
If you added RV antifreeze to your system in the fall, you must flush it out completely now. Connect your RV to a fresh water source using a potable water hose and open all your faucets, including the shower and the outdoor kitchen. Run the water until it flows clear through every outlet. This process clears the lines, but it does not necessarily mean the water is safe to drink yet.
Sanitizing the freshwater tank is a non-negotiable step for the healthy traveler. Bacteria can grow in a stagnant tank over the winter, and a simple flush is rarely enough to eradicate the bacteria. Create a solution of 1/4 cup of household bleach for every 15 gallons of your tank’s capacity. Mix the bleach into a gallon of water first, then pour it into your fresh water tank and fill the remainder with fresh water. Pump this solution through all your lines until you smell a faint chlorine scent at every tap. Let the system sit for at least twelve hours to allow the bleach to do its work. Afterward, drain the tank and flush the system with fresh water until the chlorine smell is entirely gone.
While the water is cycling, take a moment to inspect your water heater. If you bypassed the heater during the winter, turn the bypass valves to their normal operating positions. Before you turn the heater on, verify that the tank is full of water to avoid burning out the electric heating element. Check the anode rod if your model has one; if it is more than seventy-five percent depleted, replace it to prevent corrosion inside the tank. Checking for leaks around the fittings during this pressurized flush will help prevent soggy carpets and unexpected repairs on your first trip.
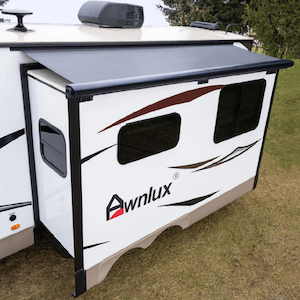
Maintenance for the Awnings
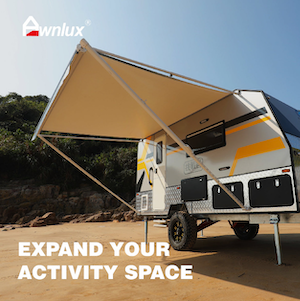
The awning is your primary tool for creating a comfortable outdoor living space and reducing the internal temperature of your RV. After months of being rolled up, an awning can harbor mold, mildew, or even become stuck due to debris. Carefully extend your awning and inspect the fabric for tears or thinning. If you find small holes, use a specialized RV awning repair tape to patch them before they grow into larger rips.
Cleaning the awning is a critical maintenance task that many overlook. Use a soft-bristled brush and a mild soap solution to scrub both the top and the underside of the fabric. For stubborn mildew stains, there are specific cleaners that can treat the fabric without stripping away its UV protection. Once you have scrubbed the material, rinse it thoroughly with a hose. Crucially, you must allow the awning to dry completely in the sun before retracting it. Rolling up a wet awning is a guaranteed way to invite mold growth, which can permanently stain and weaken the material.
The mechanical components of the shade system also require lubrication to function smoothly. Apply a silicone-based lubricant to the sliding tracks and the support arms. Lubricant prevents metal-on-metal grinding that leads to premature wear. If your RV features power awnings, listen for any straining in the motor and ensure the auto-retract wind sensors are still functioning correctly.
Slide Topper
Check the slide topper, especially if it is without any awning or cover. Rain, dust, and UV exposure can damage the slide box rubber seal, causing it to crack, lose elasticity, or become loose over time. Operate the slide and check that the slide topper unrolls and rolls smoothly. If you notice damage, replace the slide topper to protect your slide from sun and weather damage.
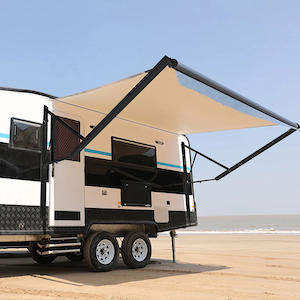
RV Awning
The awning is one of the most easily overlooked exterior components, but a dropped or damaged awning can ruin your travel. Open and close your awning to check that the sail track, brackets, and fabric work well, with no damage or breaks to the awning frame. If any parts are loose or the fabric is worn, reinforce or replace them in advance. Ensure there is no mildew, fading, or leaking of the awning fabric. Spending a few minutes on this maintenance is far better than facing costly repairs during the trip and ensures maximum safety. If you need any replacements or repairs, Awnlux, one of the top RV awning manufacturers, is a good choice.
Electrical Systems and Interior Life Support
Transitioning back to full power requires a careful check of both your 12V DC and 120V AC systems. Your house batteries are the heart of your off-grid capabilities. If you removed them for the winter, ensure the terminals are clean and the connections are tight. If you have lead-acid batteries, check the water levels and top them off with distilled water if necessary. Use a multimeter to check the voltage; a healthy battery should read around 12.6 to 12.7 volts when fully charged. Batteries left in the unit without a trickle charger require a deep charging cycle to return to full health.
Once the batteries are online, test all your interior lights and appliances. Switch your refrigerator over to both electric and propane modes to ensure it cools effectively in both settings. It is common for spiders to build webs in the propane burner tubes of refrigerators or furnaces during the winter, which can obstruct the flame. If an appliance fails to ignite, a quick cleaning of the burner assembly with compressed air often solves the problem. Test your microwave, air conditioner, and water pump to ensure they are cycling properly.
Safety equipment is the most important part of the interior checklist. Replace the batteries in your smoke detector and carbon monoxide detector, even if they still seem to work. Check the expiration date on your fire extinguisher and ensure the pressure gauge is in the green zone. Furthermore, test your LP leak detector. The sensors have a lifespan of 5 to 7 years. Replaced the sensors if they are past their prime. These small devices are your silent guardians, and spring is the perfect time to ensure they are ready to protect you and your family.
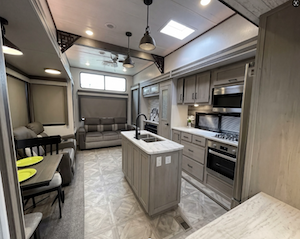
Optimizing Ventilation and Air Quality
After a long winter of being sealed tight, an RV can often develop a musty or stale odor. Proper ventilation is the key to refreshing the environment and preventing moisture-related issues. Open every window and roof vent to allow a cross-breeze to move through the cabin. If you have vent fans, run them on high to pull out the old air. Take this opportunity to clean the screens, as dust and pollen can accumulate and restrict airflow. If your RV has a built-in air conditioner, remove and wash the filters or replace them if they are disposable.
While the air is moving, inspect the interior for any signs of moisture that might have snuck in during the winter. Look under the sinks, inside closets, and in the corners of the overhead cabinets. If you find any damp spots or discoloration, investigate the source immediately. Use a dehumidifier or moisture-absorbing crystals if the interior feels particularly humid. It is also a great time to deep-clean the carpets and upholstery. Dust mites and allergens can settle into the fabrics during storage, so a thorough vacuuming and steam cleaning will make the space feel truly like home again.
 You Might Enjoy This: Ten Maintenance Secrets to Keep Your RV Rolling Smoothly
Download the The RV Spring Awakening: 5-Minute Quick Checklist
Final Preparations for the First Journey
As you wrap up the physical maintenance, it is time to turn your attention to the logistical side of RV travel. Check your registration, insurance, and roadside assistance memberships to ensure they are all up to date. Update your GPS maps and take a look at your tool kit. Make sure you have the necessary supplies for on-the-road repairs, including spare fuses, extra sealant, and basic hand tools. Replenish your first-aid kit and check for any expired medications or supplies.
Take A short “shakedown” trip as a final step. Spend one night in your driveway or at a local campground close to home. This trial run allows you to test the systems under actual use conditions. You might discover a small leak or a finicky appliance that didn’t show symptoms during your stationary tests. This practice run builds confidence and ensures that when you finally set out on your first major excursion of the year, you can focus entirely on the scenery and the experience rather than troubleshooting equipment.
The effort you put into de-winterizing your RV is an investment in your peace of mind. By systematically checking the structure, revitalizing the plumbing, maintaining your shade systems, and ensuring your safety equipment is functional, you set the foundation for a season of unforgettable memories. Maintenance is the price of the freedom the RV lifestyle provides, and performing these tasks with care ensures that your vehicle remains a reliable companion for years to come. Now, with the tanks clean, the tires aired up, and the awning ready to provide a cool retreat, the road is calling. It is time to unhook the covers, pack the bags, and head out into the beauty of the spring landscape. Safe travels and enjoy every mile of the journey ahead.